So you purchased a new hard drive to use as an external source for Time Machine backups in macOS.
Time Machine will perform:
- Local snapshots as space permits
- Hourly backups for the past 24 hours
- Daily backups for the past month
- Weekly backups for all previous months
The oldest backups are deleted when your disk becomes full.
https://support.apple.com/en-us/HT201250
Here are the steps to get started.
- Attach the new hard drive to your computer.
- Once the drive appears on the Desktop, go to Applications > Utilities > Disk Utility and double click to open it.
- The Disk Utility will open and you’ll see a list of drives connected to the computer in the column on the left.
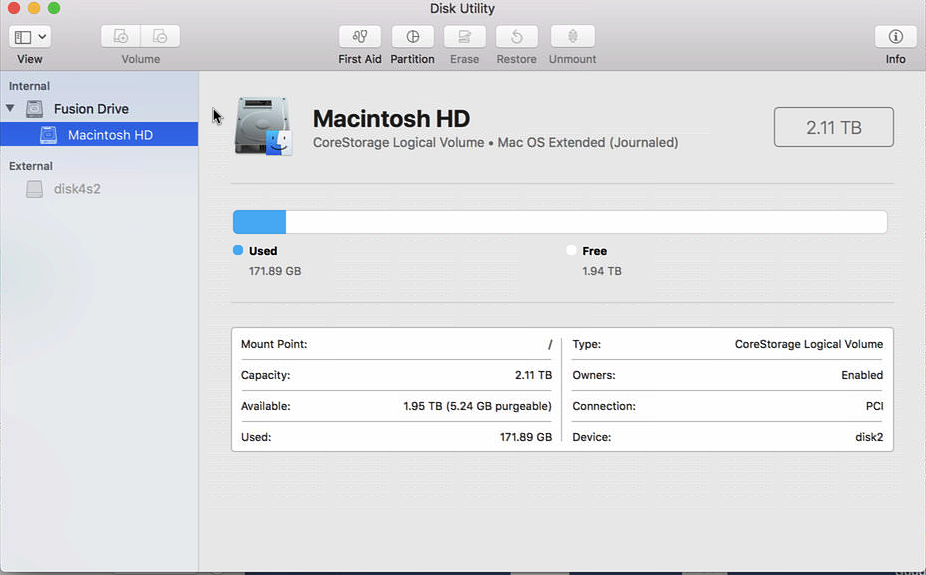
If you don’t see the list, click the icon above “View” and choose “Show all devices”.
- Select the external disk that you attached to use for Time Machine.

- You’re going to format the disk to for macOS. Click “Erase”. You’ll be presented with a warning that you’re about to erase all data stored on the disk.

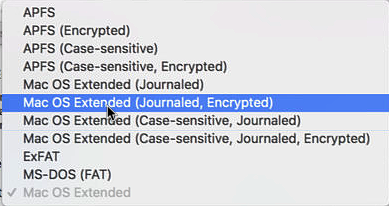
- Click the pull-down menu next to “Format” and choose “Mac OS Extended (Journaled, Encryped)”.
- When asked for the password enter the same password you use to log in to your computer. Click “Choose”.
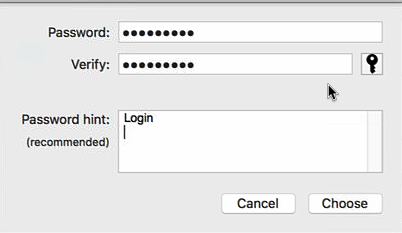
- Rename the disk to whatever makes sense (Time Machine, My Passport, etc.). Click Erase.

- Once the format is complete, quit Disk Utility. You may get a dialogue asking if you want to use this disk as a Time Machine backup. If so, click “Use as Backup Disk”.

If not, go to the Apple menu on the top left of your screen and select System Preferences. Then select Time Machine. - If necessary, click the lock in the lower left and enter your username and password. Click “Select Disk…”.
- A dialogue will show a list of available disks. Select your newly formatted hard drive and click “Use Disk”.

- Your Time Machine backups will begin and will continue as long as the external drive is attached. Time Machine keeps:
• Local snapshots as space permits.
• Hourly backups for the past 24 hours.
• Daily backups for the past month.
• Weekly backups for all previous months.
The oldest backups are deleted when your disk becomes full. - Lastly, click “Options” in the lower right and use the + button to select folders and files that you do not wish to back up. Especially important are any virtual machines used by VMWare and Parallels. Any change to these files will force Time Machine to backup the entire, large, file so it’s best to use different solutions. These files are usually stored in their own application specific folder in your Home folder. Click “Save” when done.
